Howdy!
Welcome to another blog post on Aqua Data Studio!
This time we will diving into the wonderful world of Amazon Redshift!
Pre-Requisites
- Aqua Data Studio
- An AWS account with Redshift already configured and ready to go
- Configure Security Groups with access to port 5439
Walkthrough
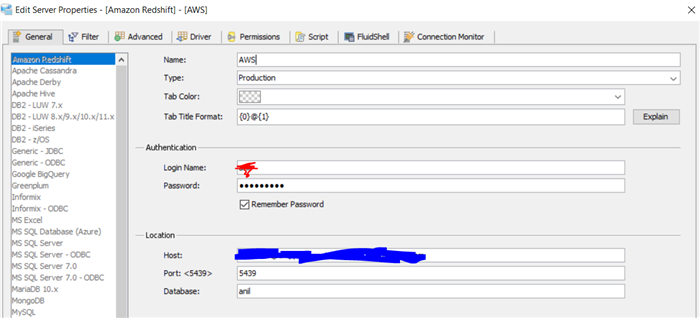
Launch Aqua Data Studio and Register a new Server and select AWS Redshift from the list, then configure the following options:
Name: Give a server name that is based on your Redshift instance.
Authentication: Enter your AWS Redshift username and password here.
Finally, under Host: Copy the Redshift Cluster URL and under database, enter the name of the Redshift database.
Click Test Connection to verify the connection works.
Now expand the AWS node and expand databases.
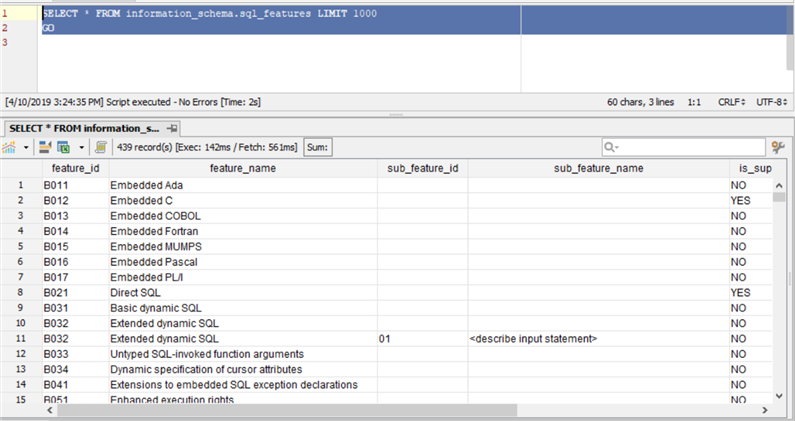
Run the following query:
SELECT * FROM information_schema.sql_features LIMIT 1000
GO
And you should get the results as shown below:
We even support Storage Types within Aqua Data Studio as shown below:
Congratulations on successfully connecting and working with AWS Redshift within Aqua Data Studio! The leading Database Development and Visual Analytics Tool for Enterprises of all sizes.
Stay tuned for another blog post!


