Congratulations on setting a 2019 #CodingResolution! If it’s learning another language like C++ or Delphi, moderninizing your UI and app architecture, or just learning more about what’s changed in the latest version of RAD Studio, you’ll start by installing the tools and getting to know where everything is.
Prerequisites
You should already have downloaded and installed either the RAD Studio 30 Day FREE Trial, Delphi Community Edition, or C++ Builder Community Edition.
Need help installing the product? Read the documentation or ask for assistance in the forums.
Day 2: Getting to Know the IDE
Some of the code tutorials can be difficult to follow if you’re new to the C++Builder and Delphi IDEs, so here are some resources to help find your way around the IDE:
- Tour of the IDE This is a text description of the different components you’ll see when you launch the IDE. It also describes the light/dark theme selection.
Welcome Page
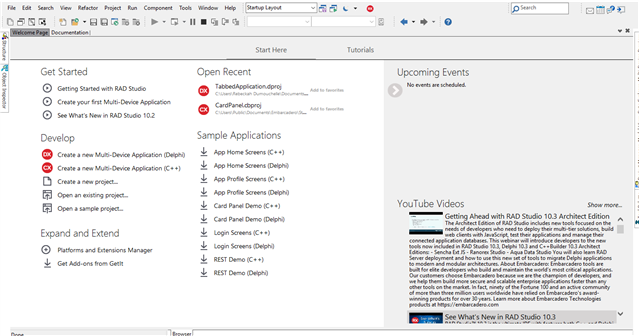
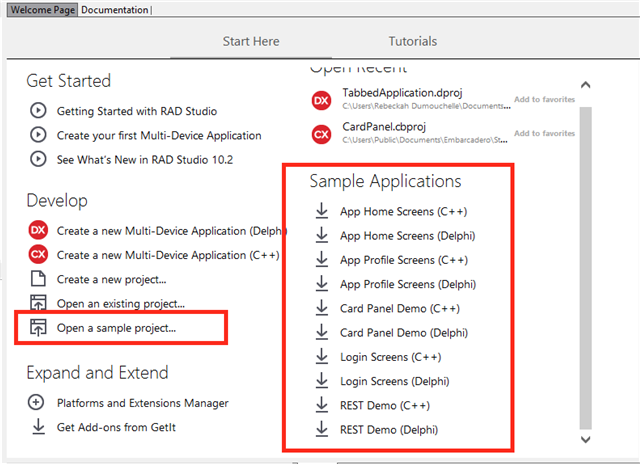
When you start the IDE for the first time, you’ll see several guides presented under “Start Here” tab: Get Started, Guided development projects, Open Recent projects, and Sample Applications you can use. To the right side is a panel that will show upcoming events, if any official Embarcadero events or webinars are planned. Under that will be recent YouTube videos.
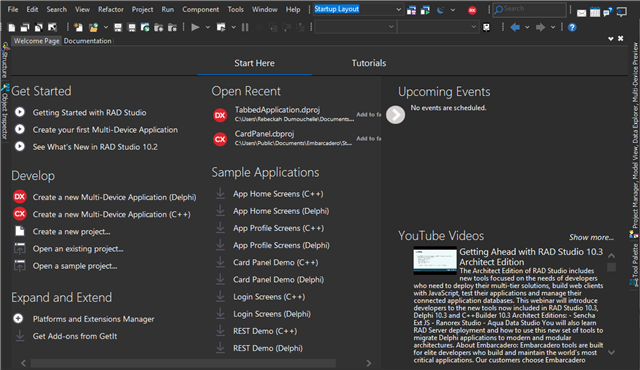
The above screen is shown in the “Light” theme. You can switch to the Dark Theme by going to Tools > Options > Theme Manager or select Options from the dropdown menu available in the Desktop toolbar, next to the layout combo box.
Form Designer
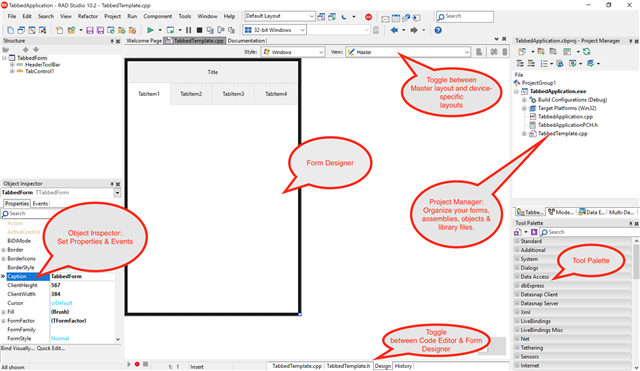
When you start a new coding project, it’s helpful to get to know the different tool panels that display. This is the IDE in Light Theme, showing the Form Designer, the Project Manager, the Object Inspector, the Tool Palette, and how to change form Views, or change to Code Editor. Each of these panels are described in more detail in the Tour of the IDE page.
Code Editor
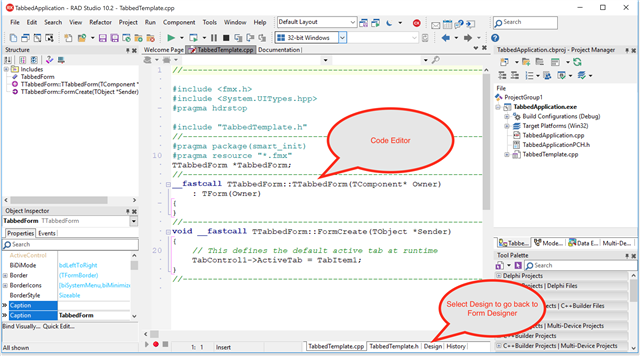
When you change to Code Editor, your environment will look like this:
Jumpstart your App Development
RAD Studio, Delphi, and C++ Builder come with example projects, included templates and access to hundreds of prebuilt components. Here’s how you find them:
1. Included Sample Projects.
There are dozens of sample projects included in the IDE installer. You can access them from the Welcome Page.
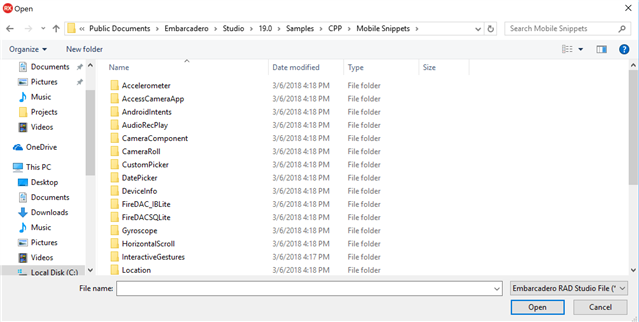
When you select “Open a sample project”, it will open File Explorer where you can browse and select even more projects. This is the listing for mobile C++ apps:
2. UI Templates in GetIt.
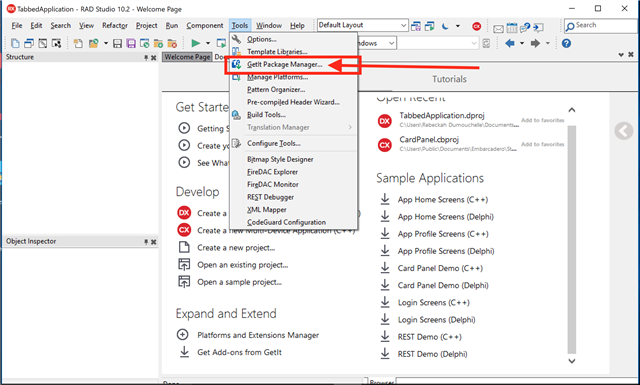
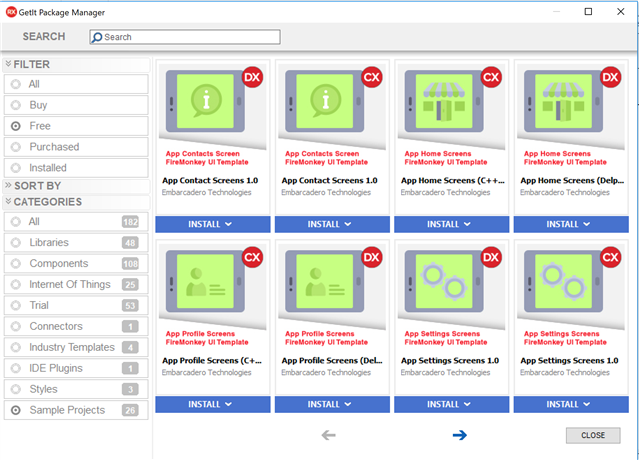
There are a number of UI templates available in GetIt such as these mobile app Profile Screens. To find them, go to GetIt (Tools > GetIt Package Manager > Sample Projects).
From the GetIt Package Manager, you can sort by Free Sample Projects, Styles, and Components. You can also browse the ecosystem for components that are for sale, created by other developers to help you quickly integrate new functionality.
I hope this post has helped new developers get started with the different screens and sample project resources available in RAD Studio!
Already an experienced developer? Try one of the sample projects or browse GetIt to discover how to add functionality to your next app.
