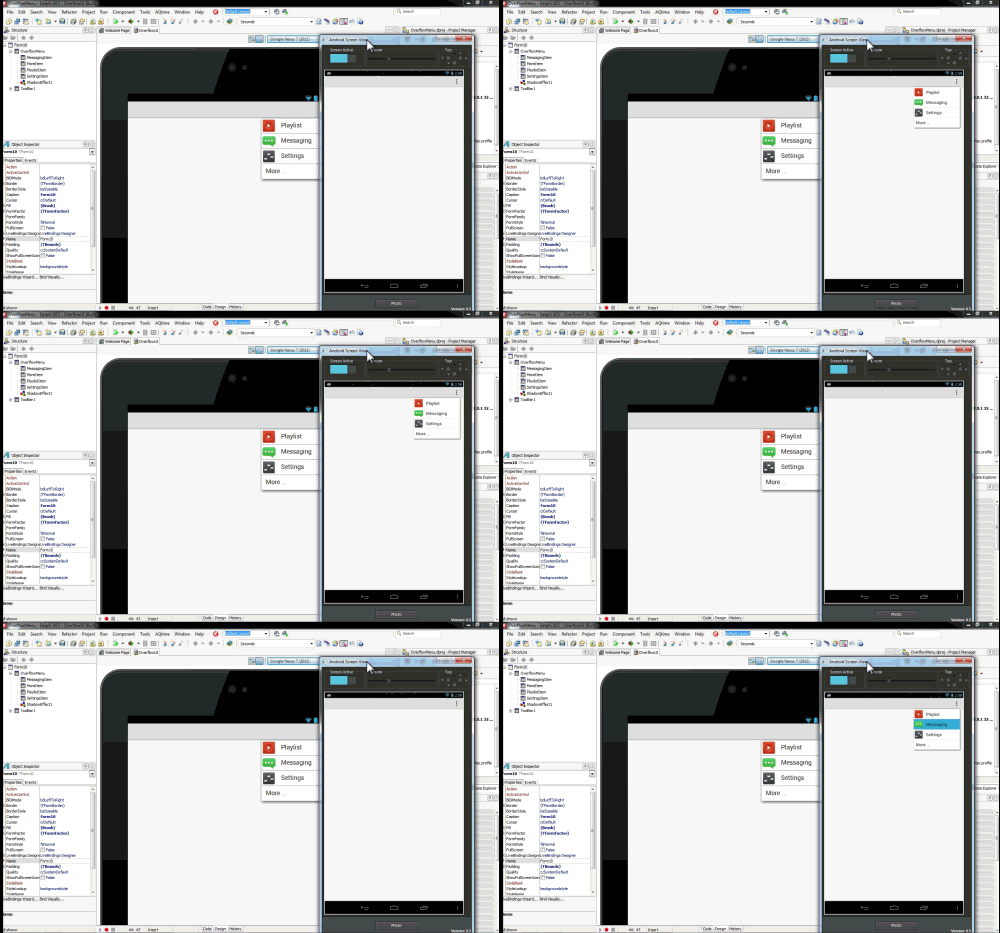
During my CodeRage 8 session I talked about creating an Action Bar with an Overflow menu, so I wanted to provide some step-by-step instructions.
On Android, an Action Bar is a top (or top and bottom aligned) toolbar that is segmented into 4 key functional areas. One of those functional areas is an Overflow menu.
The ‘Overflow’ popup menu is commonly used for additional menu items on Android and accessed via the Action Bar. An Overflow menu is designed to give the application user quick access to additional/less often used features that are otherwise not accessible via more prominent menu items.
In FireMonkey, you can easily implement an Overflow menu through the use of TListBox.
In my example, I am using the following 4 components:
- TToolbar
- Alignment: alTop
- TSpeedButton
- Alignment: alRight
- StyleLookUp: detailstoolbutton
- Margin, Right: 5 (this is set in case you want to carry this UI over to iOS as well, to account for both bordered (iOS6) and non-bordered (iOS7) button sizes
- TListBox with several items
- Each of the four listboxitems has a bitmap and text defined via the ItemData property
- Visibility has been set to False
- Height has been set to 176px (to show the listbox border right below the last listbox item)
- Anchors: akTop, akRight
- TShadowEffect
- Parented to TListBox
ListBox Item Properties:
TSpeedButton properties:
I used a larger (80x80px) icon for each listbox item bitmap so that the icons look nice on both lower resolution and high resolution displays.
I also created the following on-click Event for my OverflowButton:
procedure TForm10.OverflowButtonClick(Sender: TObject);
begin
OverflowMenu.Visible := not OverflowMenu.Visible;
if OverflowMenu.Visible then
begin
OverflowMenu.ApplyStyleLookup;
OverflowMenu.RealignContent;
end;
end;
Below is a quick recording of the Overflow menu in action.
Sincerely,
Sarina
