In RAD Studio XE7, we introduced the FireUI Multi-Device Designer. FireUI makes it easy to create user interfaces across multiple devices using a master form to share all user interface code, and then optimize inherited views for each target platform and device.
Delphi, C++Builder and RAD Studio XE7 provide a set of predefined views, including Windows Desktop, Surface Pro Tablet, Mac Desktop, iPhone, iPad, and several Android Phone, Tablet and Google Glass optimized views.
Views are a mechanism that allows you to define a different layout and components for the forms of your application depending on the device where your application is running.
New forms contain a single view: the Master view. The Master view is the view that your application loads if your application does not contain any other view fit for the device where your application is running. You can add more views to your application if you want to provide a different view on a specific kind of device. These additional views are customized versions of the Master view for a given device or a type of device that inherit all the components and modifications from the Master view.
In many cases, you will define most of your code on the master view. However, you may want to change an existing event for a specific platform or device. In that case, you can access the existing event handler and change the name of the event.
unit Unit20;

interface

uses
  System.SysUtils, System.Types, System.UITypes, System.Classes, System.Variants,
  FMX.Types, FMX.Controls, FMX.Forms, FMX.Graphics, FMX.Dialogs, FMX.StdCtrls;

type
  TForm20 = class(TForm)
    Button1: TButton;
    procedure Button1Click(Sender: TObject);
    procedure Button1Click_iOS(Sender: TObject);
  private
    { Private declarations }
  public
    { Public declarations }
  end;

var
  Form20: TForm20;

implementation

{$R *.fmx}
{$R *.iPhone4in.fmx IOS}

procedure TForm20.Button1Click(Sender: TObject);
begin
  ShowMessage('Button clicked'); // event defined in master view
end;

procedure TForm20.Button1Click_iOS(Sender: TObject);
begin
  ShowMessage('iOS Button clicked'); //event redefined in iPhone view
end;

end.
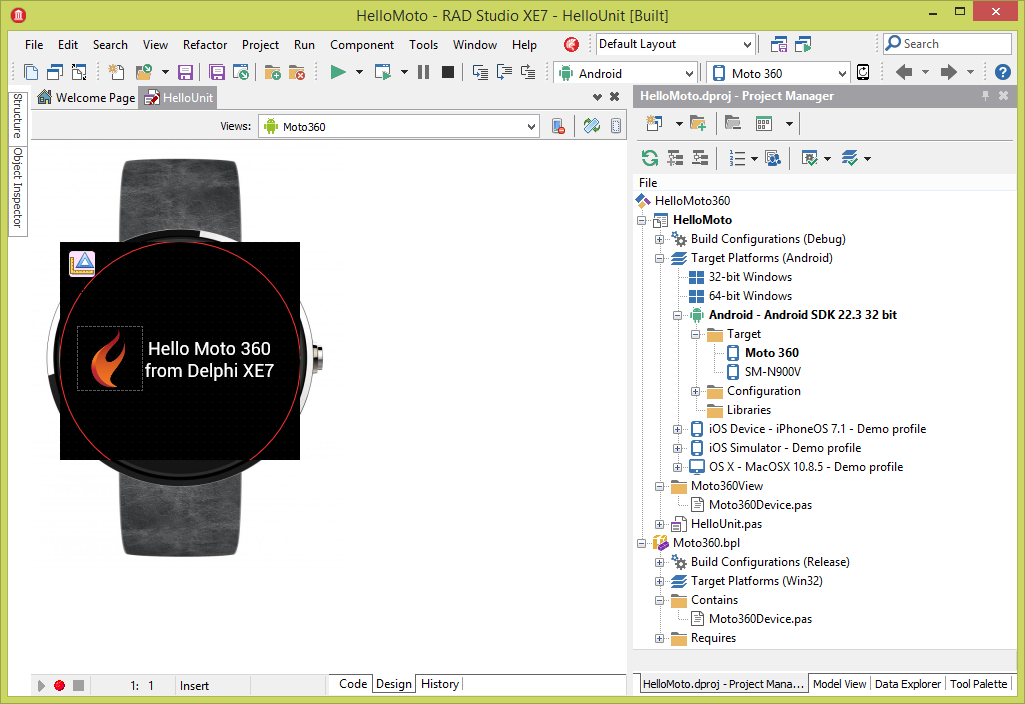
You can also create and add new views to the View Selector in the Form Designer if the available views do not cover the specifications of your target device. Usually, that is not necessary, but if you want to fine-tune the layout for a specific device (i.e. your company has standardized on Nexus 5), creating a custom view will allow you to further customize your UI. This is also a great way to add views for new wearable form factors such as various watches that you may want to target, like the Moto 360, which Jim McKeeth recently covered.
In this blog post, I am going to cover the steps to add a Nexus 5 specific view with the associated design time and runtime support. You can also find detailed instructions on how to add a custom view by clicking here.
Step 1: Create a new package
- Select File > New > Package – Delphi or C++Builder.
- In the Project Manager, right-click the <project_name.bpl>.
- Select Add New > Unit.
Add the following code to the unit:
unit MyNexus5;

interface

implementation

uses

  system.Devices, system.Types, system.SysUtils;

const
  ViewName = 'MyNexus5CustomView'; // The name of the view.

initialization

  TDeviceinfo.AddDevice(TDeviceinfo.TDeviceClass.Phone, ViewName,
    TSize.Create(1920, 1080), TSize.Create(1920 div 2, 1080 div 2), // MinPhysicalSize(max, min), MinLogicalSize(max, min)
    TSize.Create(1920, 1080), TSize.Create(1920 div 2, 1080 div 2), // MaxPhysicalSize(max,min), MaxLogicalSize(max,min)
    TOSVersion.TPlatform.pfAndroid, 445);
//Select the platform and the pixel density. If you are targeting a specific form factor only, you can use
//matching numbers for the min and max physical size instead of providing a range
finalization TDeviceinfo.RemoveDevice(ViewName); // To unregister the view after unistalling the package.

end.

Measurements taken in landscape format
To get the resolution and pixel density for the Nexus 5, I just did a quick Google search online.

Step 2: Install the new package
- Before installing the package close any open project on the Designer.
- In the Project Manager, right-click the <project_name.bpl>
- Click Install
- An Information message appears informing you that the package has been installed.
Step 3: Update the MobileDevices.xml to add a custom device skin

You can find the MobileDevices.xml file by going to Go to C:\Users\<username>\AppData\Roaming\Embarcadero\BDS\15.0.
I created two Nexus 5 device skins. One for portrait orientation and one for landscape orientation. Both of the pngs get referenced in my custom mobile device definition below.

Portrait:
Left 26
Top 66
Width 362
Height 592
Portrait Upside Down:
Left 26
Top 66
Width 362
Height 592
Landscape left:
Left 66
Top 26
Width 592
Height 365
Landscape right:
Left 66
Top 26
Width 592
Height 365
<MobileDevice>
<Name>MyNexus5CustomView</Name>
<Displayname>My Nexus 5</Displayname>
<DevicePlatform>3</DevicePlatform>
<FormFactor>2</FormFactor>
<Portrait Enabled="True" Width="362" Height="592" Left="26" Top="66" StatusbarHeight="0" Artwork="C:\mydeviceimages\Nexus_Portrait.png" />
<UpsideDown Enabled="True" Width="362" Height="592" Left="26" Top="66" StatusbarHeight="0" Artwork="C:\mydeviceimages\Nexus_Portrait.png" />
<LandscapeLeft Enabled="True" Width="592" Height="362" Left="66" Top="26" StatusbarHeight="0" Artwork="C:\mydeviceimages\Nexus_Landscape.png" />
<LandscapeRight Enabled="True" Width="592" Height="362" Left="66" Top="26" StatusbarHeight="0" Artwork="C:\mydeviceimages\Nexus_Landscape.png" />
</MobileDevice>
For more information, visit: http://docwiki.embarcadero.com/RADStudio/XE7/en/Adding_a_Customized_View_to_the_View_Selector