I have had a growing number of customers asking recently about getting started with Android programming with Delphi, so I thought it was a good time to refresh how to check your IDE is set up, how to enable developer mode on an Android phone, and show how you can rapidly get Android applications run and debugged from RAD Studio.
If you are new to Android development, then the first thing to note is that you need to ensure the IDE has Android support enabled. Under Tools > Manage Platforms, ensure Android is enabled.
You will also need to check Java is setup on your machine. This is because RAD Studio uses the Android SDK and NDK as part of the process for packaging and deploying android applications. One such part is the ADB program which tells the IDE what Android devices are attached to the computer.
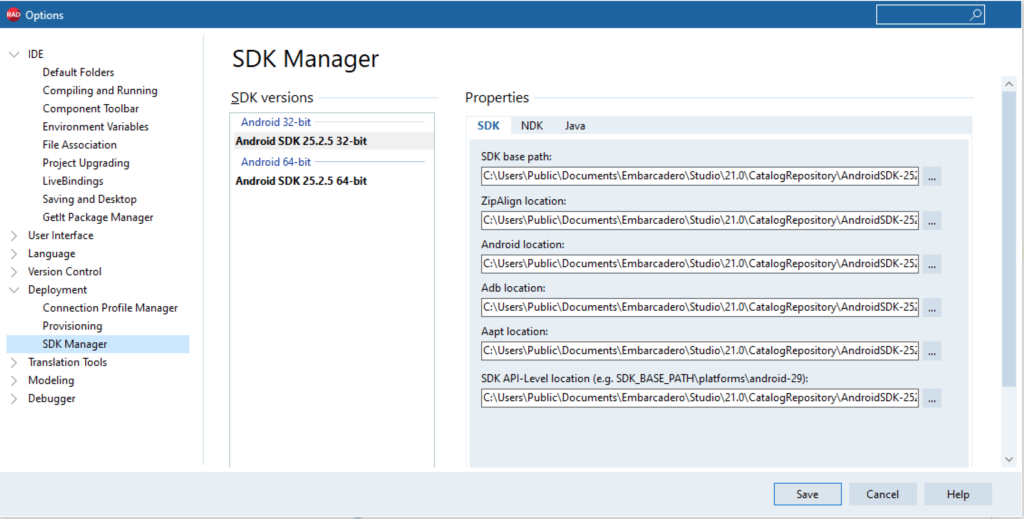
If you already have Java installed, you can set the paths to the required elements required by the IDE under Tools > Options > Deployment > SDK Manager
With Java setup and Android tools enabled, you should be able to put your phone into developer mode and connect it to the Windows host to see it in the IDE.
If you have any issues with Android phone setup – check this post out.
The rest of the video shows running your first Android application directly from the IDE. If you want to debug the application, ensure you use DEBUG mode rather that RELEASE build. from the build configurations.
If you are using Debug mode, you still need to choose Target platform (for 32bit or 64bit), a target device, and then a configuration. – e.g. Development.
These options are used to setup and manage the development, release and files deployed. Something I will cover another time.
For more on Android development, check out the Embarcadero docwiki on Android app development
The post Setting up the IDE for your First Android App appeared first on Stephen Ball’s Technical Blog.