This blog post starts like a previous one, but soon differs, as it describes how we can connect to and use the Team Server REST API from an Excel workbook.
When we work with ER/Studio Data Architect, we can easily automate some tedious tasks by using macros through the COM based automation interface.
Team Server provides a REST based API (REpresentational State Transfer; Application Programming Interface) to interact with it.
We can work with our Entities, Attributes, Tables, Views, etc, as well as manage (Create, Read, Update, Delete) our Glossaries and Business Terms, …
Description
With this Excel workbook, we can:
- Register the Excel workbook in the target Team Server installation
- Obtain an API access token
- Get the list of our Glossaries
- Get the Terms of one Glossary
- Get the information of a Term and its Managed Attributes
- Update the information of a Term and its Managed Attributes
System requirements
To use this Excel workbook, we need:
- To download the Excel workbook
- These applications need to be installed on the same machine:
- a recent version of Microsoft Excel
- Idera ER/Studio Enterprise Team Edition 19.x
- The machine has to connect to the remote(or the VM) Team Server Core through http(s).
- Microsoft Excel macros have to be enabled to execute the different pieces of code which connect to the Team Server REST API.
Accessing the Team Server’s REST API
To access the REST API resources, first we need to be authorized to do so.
Register
To achieve this, we first need to register our client with the server. We don’t need to register our application with Idera (we don’t need to send an email to Idera anymore). We can simply generate two GUIDs (Globally Unique IDentifier) for the fields Client ID & Secret.
In the first worksheet, we can use the 4 first buttons to register our application in the target instance of Team Server:
If we have already configured our ER/Studio Data Architect to connect to our Team Server Core, the first button should get the Team Server root URL as the screenshot above shows. Otherwise, we can type the Team Server Core URL in cell B1.
The 2 next buttons generate 2 uniques GUIDs.
The 4th button calls the Team Server REST API method to register this Excel workbook in the target instance of Team Server.
If everything works fine, the cells B6 & B7 should be filled with 2 different URLs.
Obtain an Authorization Code
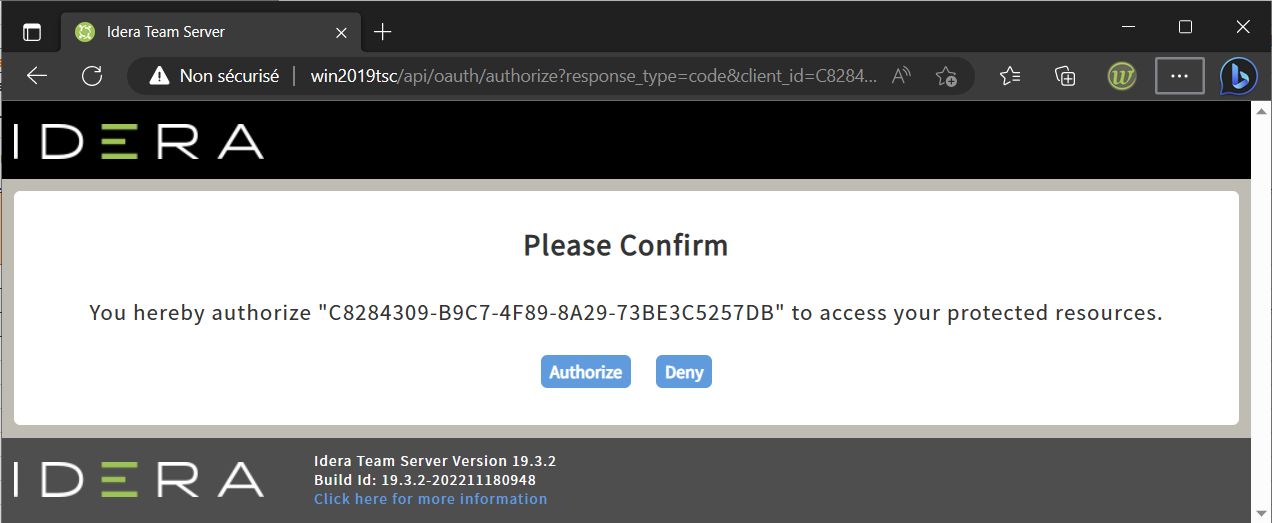
Then we need to navigate to our Team Server with our preferred browser using the URL in cell B7 (the button Open navigates to the correct address with our default browser) : Team Server authenticates the user, informs the user of the access request, and allows the user to choose whether to grant or not our client application (the Excel workbook) the requested access permissions:
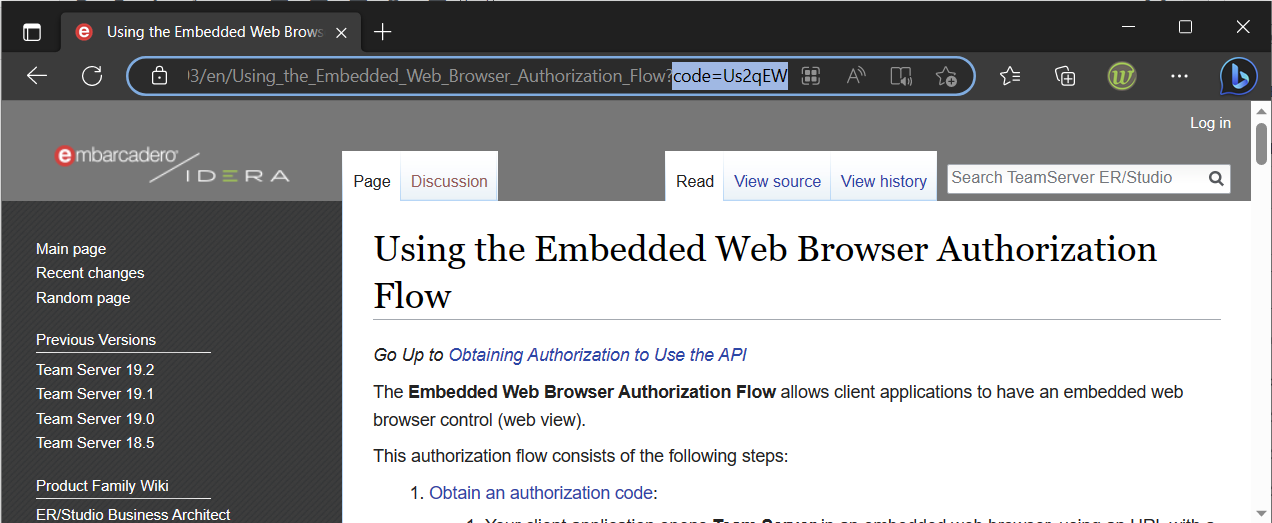
If we grant our application the permissions, it opens a documentation webpage with an extra query parameter in the address bar:
We need to copy the value of this code in our clipboard. In the above example, the value is: Us2qEW
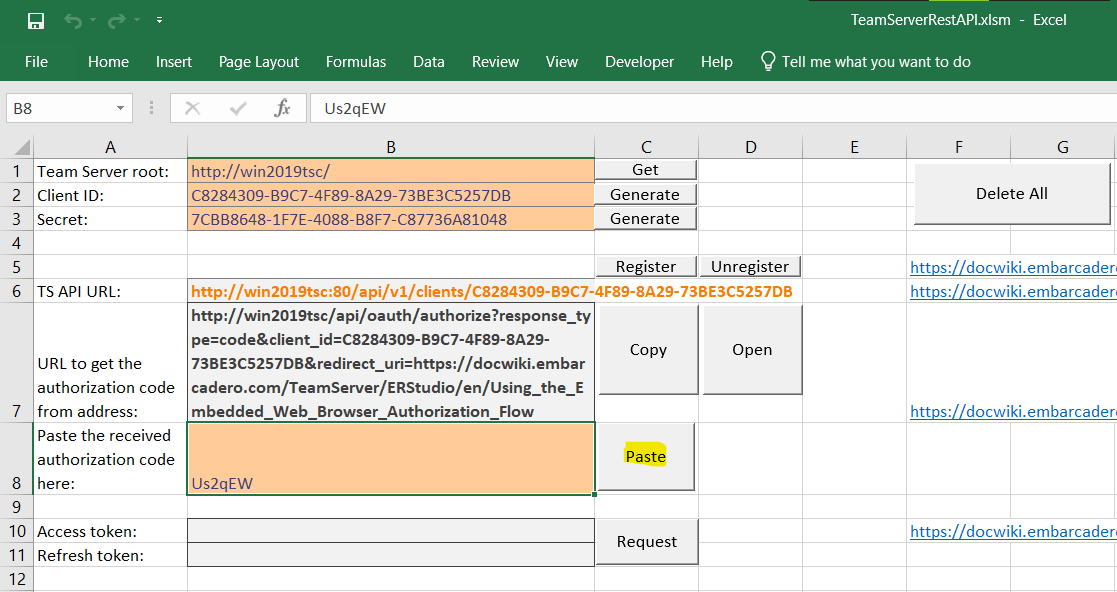
Then, we can paste the code in the cell B8 of our worksheet like this:
Obtain an Access Token
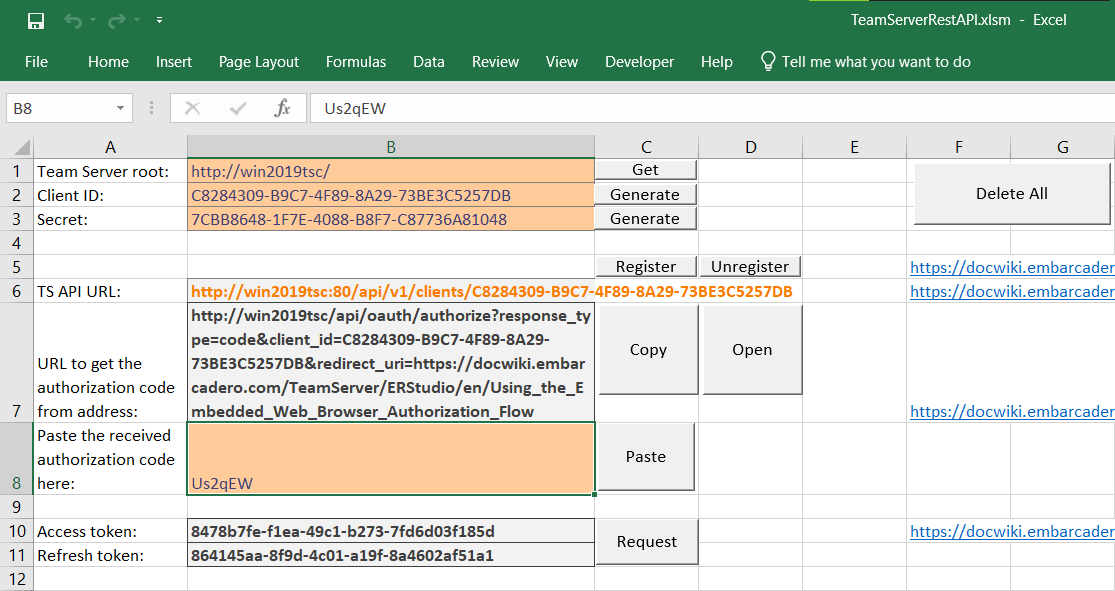
The final step is to obtain an API access token. We can get it using the button Request. We should get the 2 tokens like this:
We can now start using the Team Server API to get the different resources, by including the provided access token in every API request.
Access the resources
In the 3 other worksheets, we can access the Team Server resources to get the list of Glossaries, the list of Terms of a specific Glossary and finally edit a term and its Managed Attributes.
We just need to go to the next worksheets to try these API calls.
The Glossaries sheet allows us to get all our Glossaries:
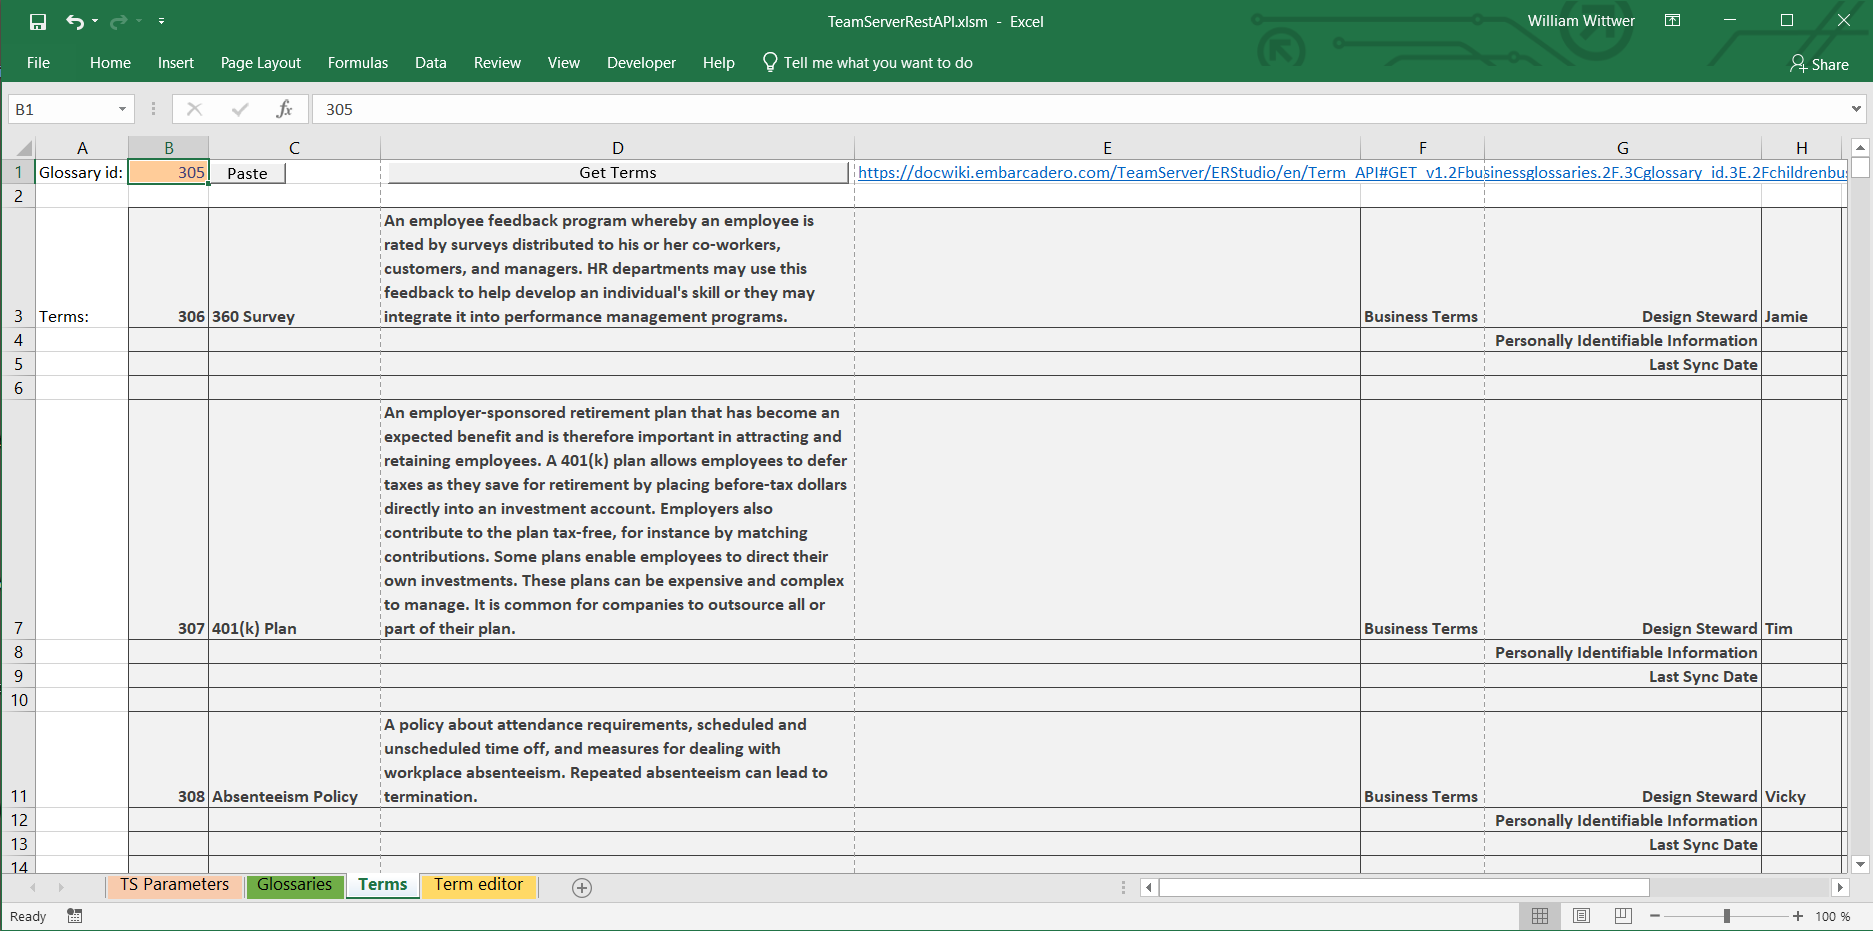
The Terms one provides us the list of all the Terms of the Glossary identified by its ID. The IDs of the Glossaries are available in the column D of the Glossaries sheet:
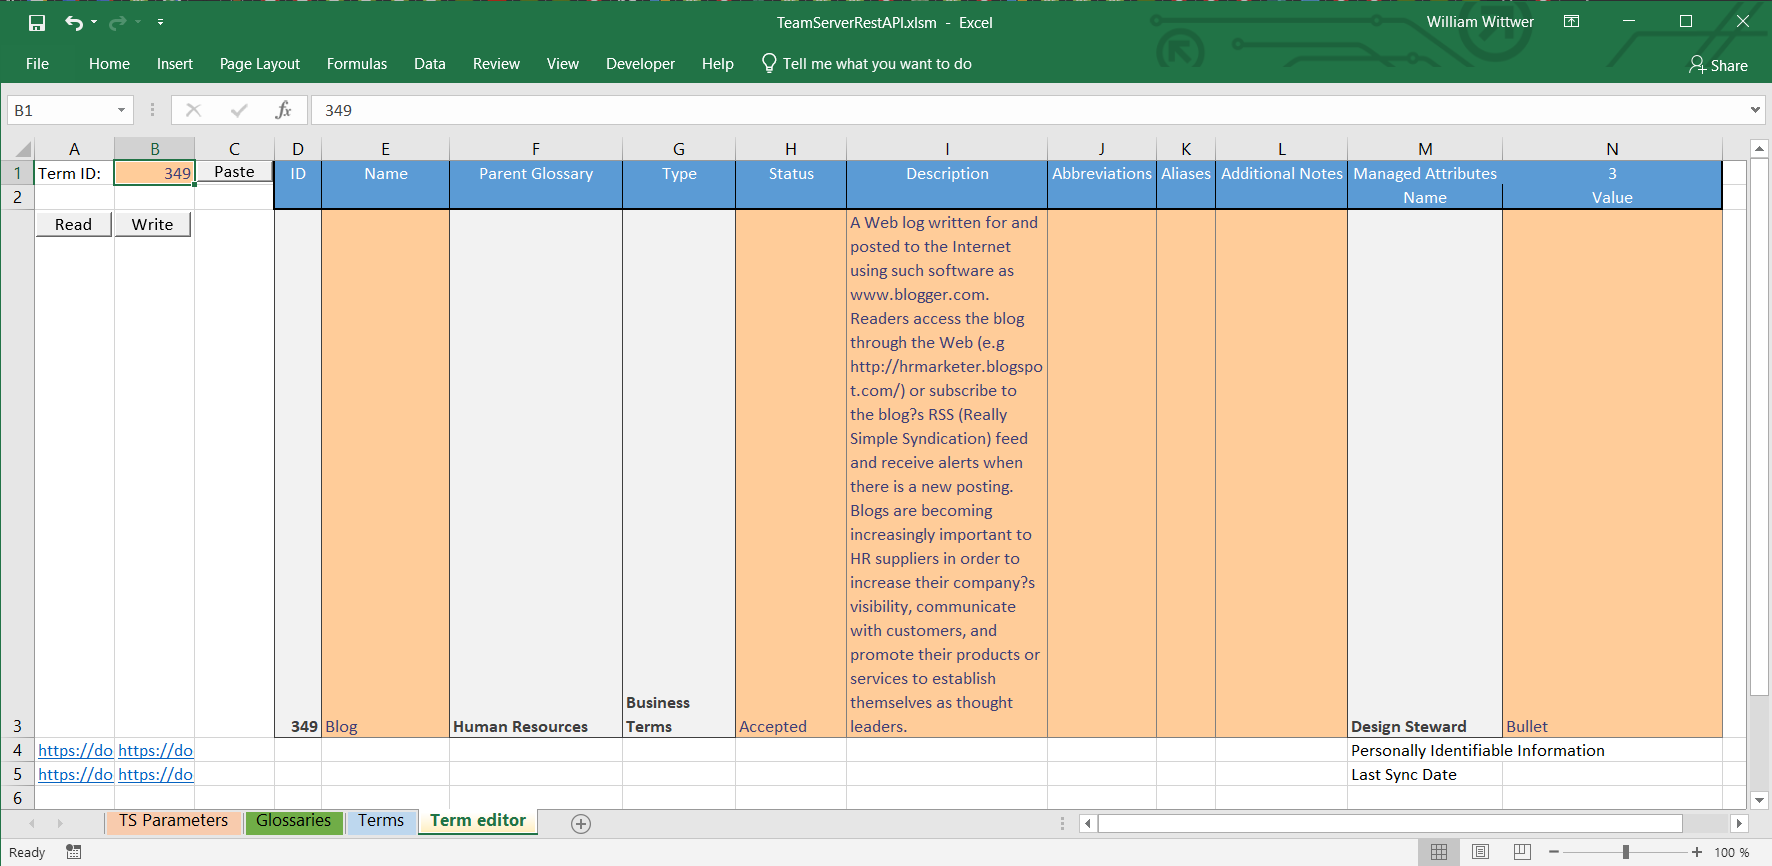
The last worksheet can load a Term from its ID (available in column B of the Terms sheet) and can update the information of a Term to Team Server:
Behind the scenes
If we have successfully reproduced the previous steps in our environment, we are now familiar with a complete workflow starting with registering our application, then authorizing the access and finally browsing and managing the resources.
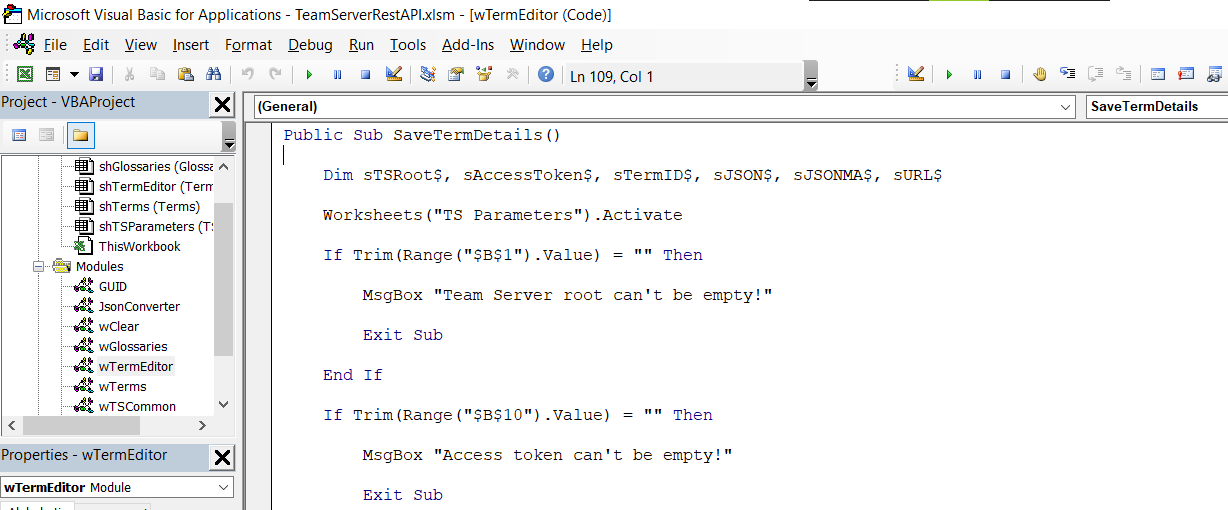
To understand and learn what the different buttons available in the Excel workbook are doing, we can easily check the different pieces of code.
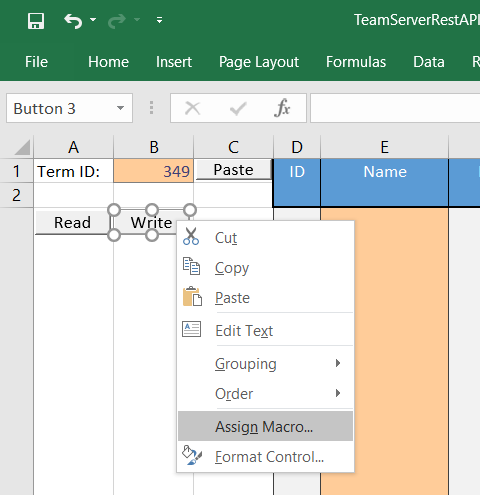
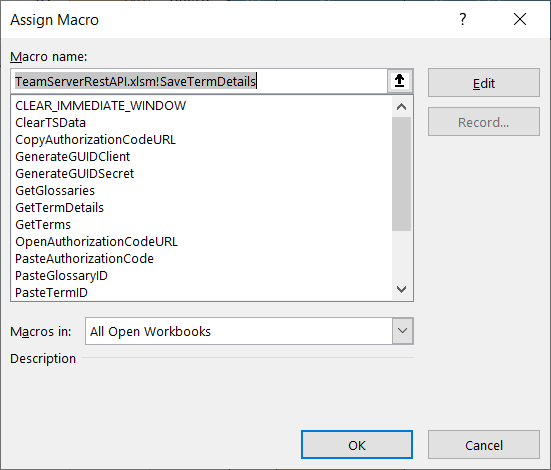
When we are using Microsoft Excel, we can open the contextual menu of the different buttons with a click of the right mouse button. From this menu, we can choose the item Assign Macro… to see the associated macro and edit it to view its code:
We can also open the Microsoft Visual Basic For Applications Editor to view the different modules which contain the macros for their related tabs by typing the keys: ALT + F11
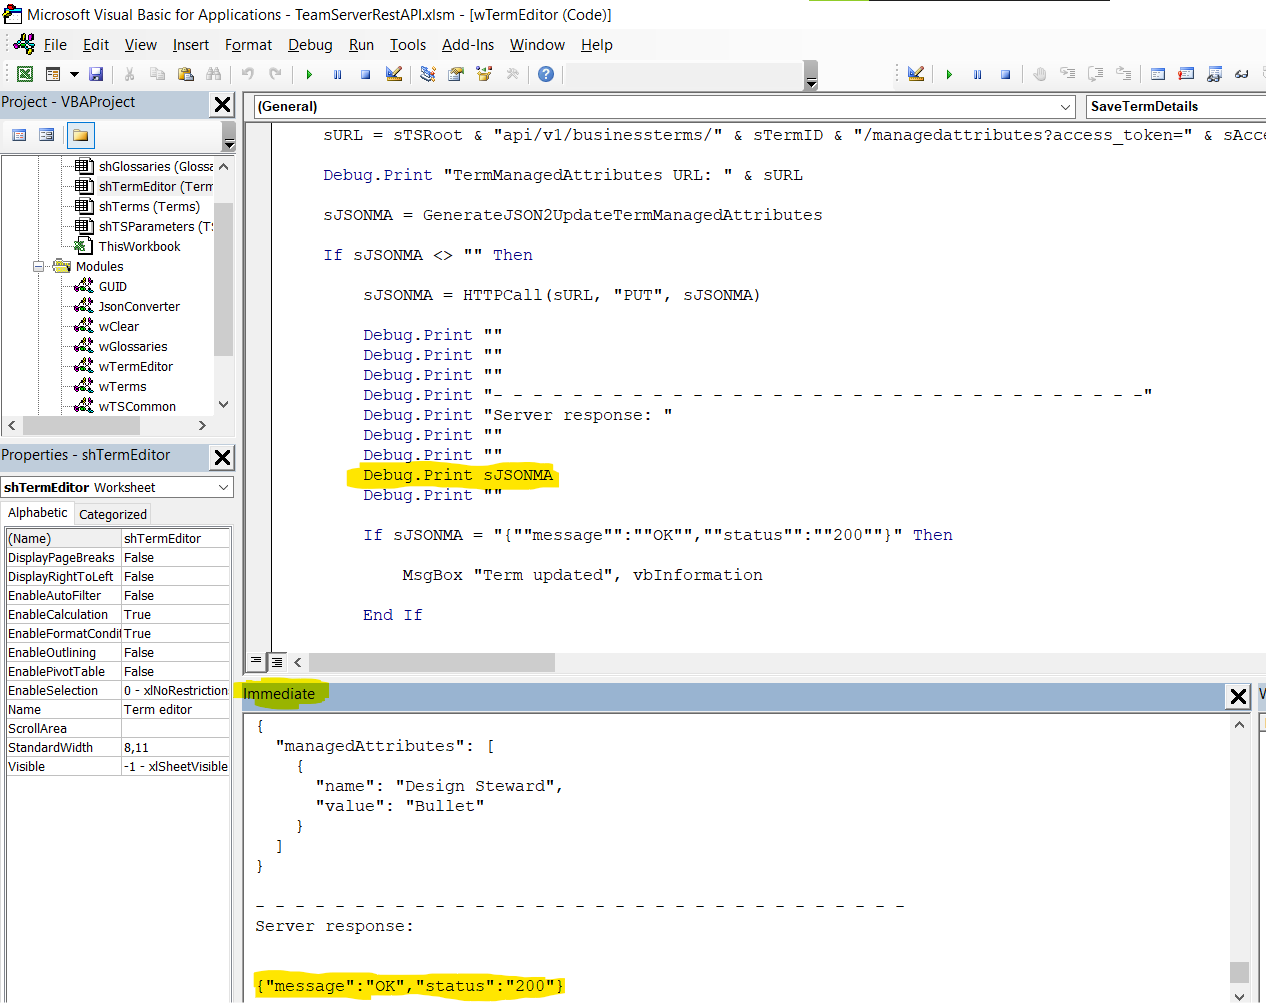
The Immediate Window (Ctrl + G) displays logs generated by the different functions which can be useful to better understand the code:
We can also use Breakpoints to pause the execution and to debug the code step by step:
The worksheets and the different modules include many links to the related Team Server REST API documentation.
The Excel workbook also contains some parts of code found on the internet. This code belongs to their authors.
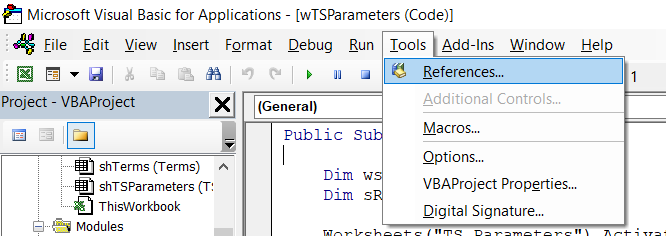
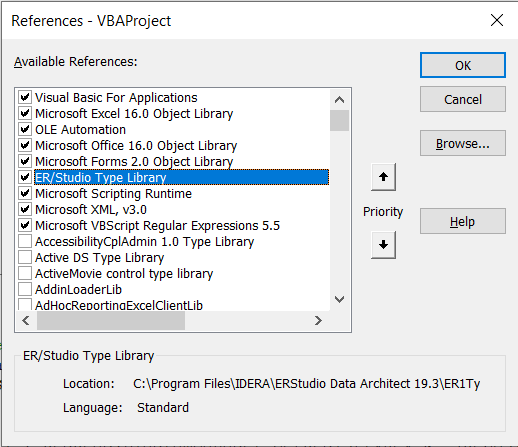
This project also references different objects libraries which can be checked by using the editor’s menu Tools / References…
We can see the ER/Studio Type Library which is used in the code to get the Team Server URL:
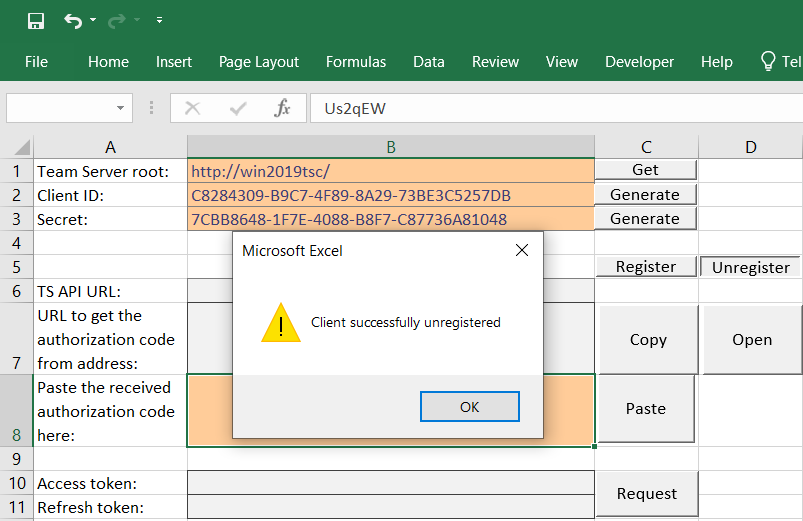
When we have finished our tests, we can unregister the client application (the Excel workbook) from our Team Server, using the button Unregister available in the worksheet TS Parameters:
Summary
In this blog post, we used:
- the Team Server REST API
- to register/unregister our client application (the Excel workbook)
- to authenticate
- to browse and manage Team Server resources
- by using VBA, but we can use many other langages. We can find another example, written in Delphi, in this other blog post.
Bonus
I shared a video (17′) to support this blog post! 👍

